Reviews Importify Documentation for Shopify
All the information you need to become a Reviews Importify pro user, from getting started to advanced features.
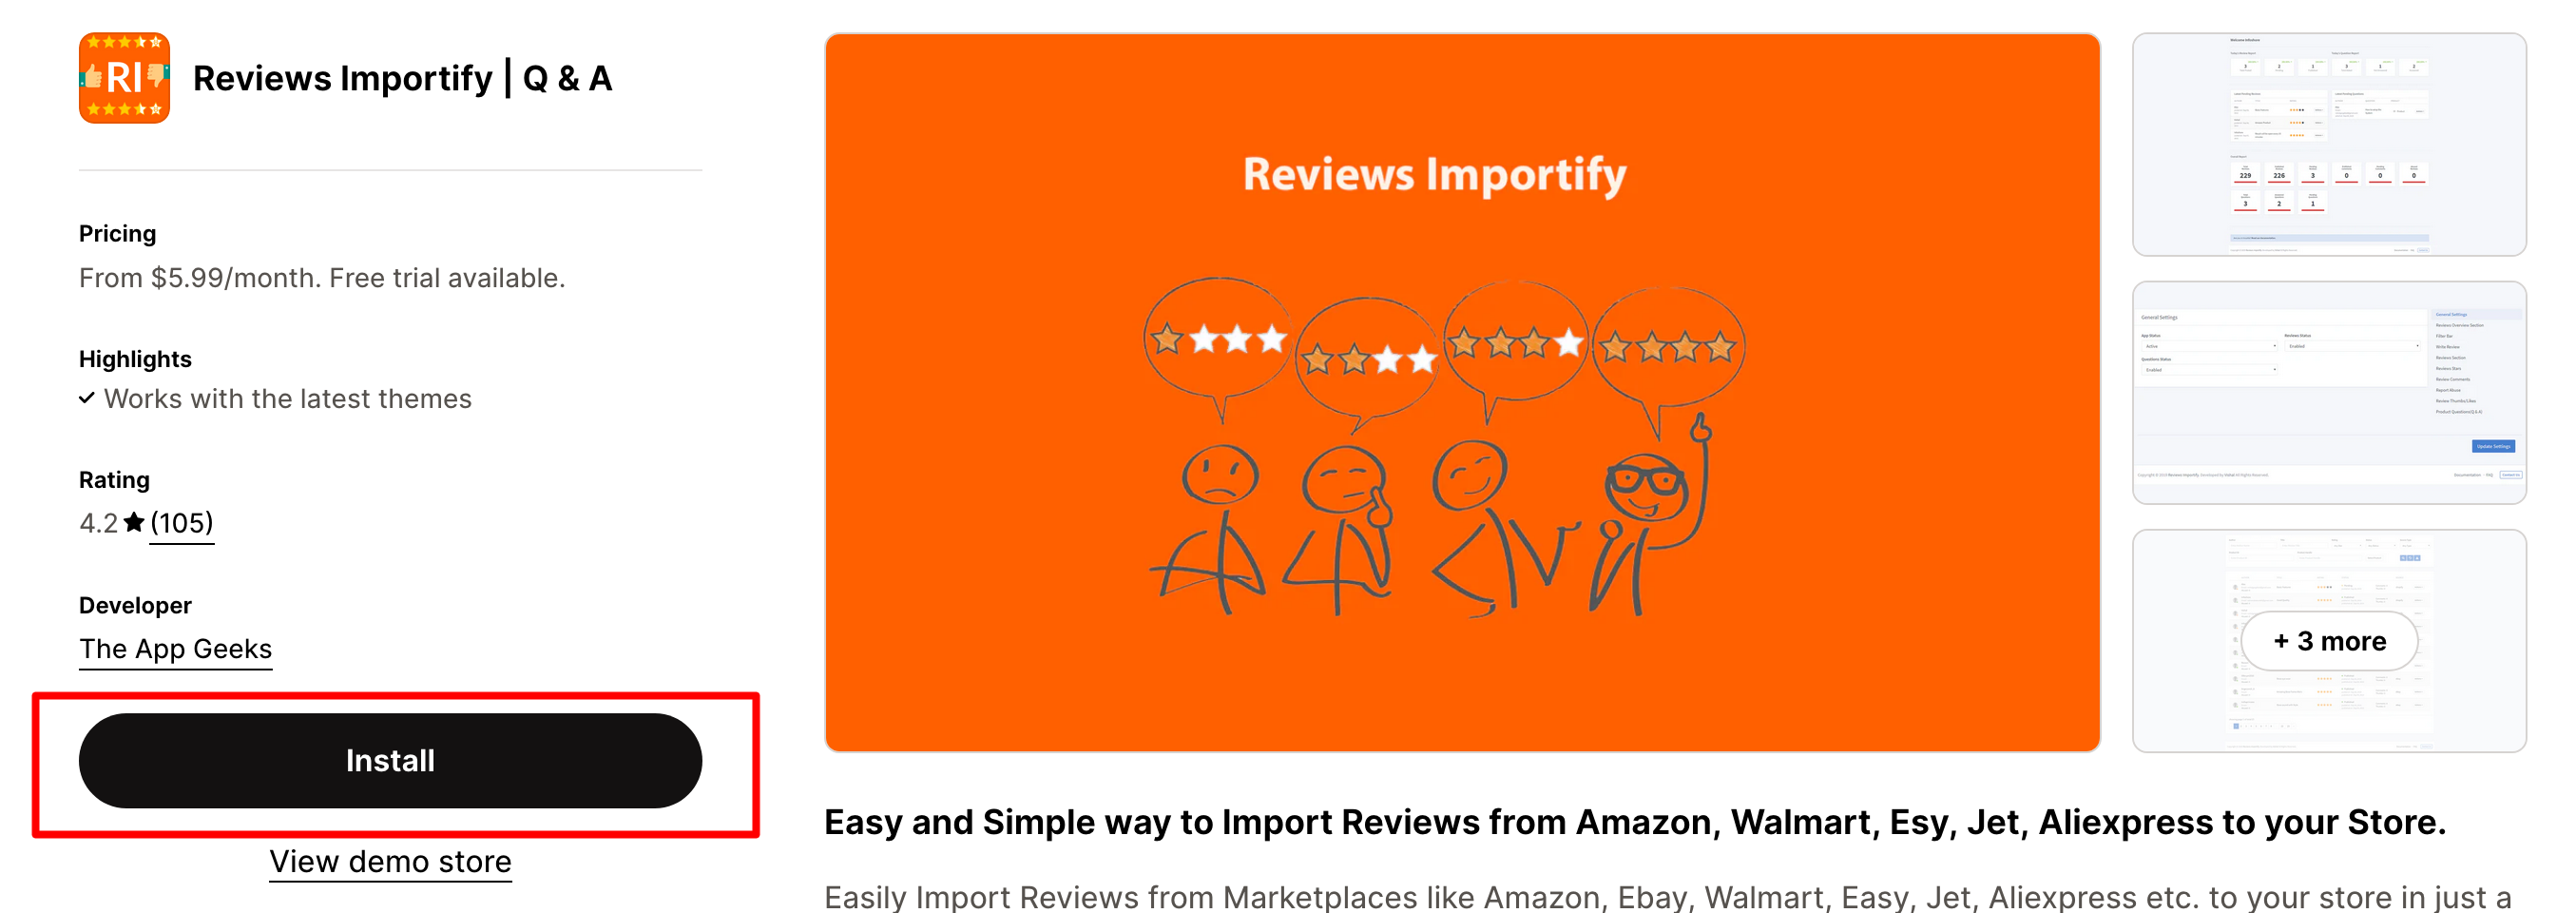
Introduction
- App Name : Reviews Importify | Q & A Template
- Author : The App Geeks
- Support : https://www.reviewsimportify.com
This documentation is to help to setup and use Reviews Importify | Q & A Template. Please read the documentation carefully to understand how to setup and use the app.
Getting Started
Use this personalized guide to get started with the app.
Install app on your store
the first step is to add the Reviews Importify app to your Shopify account and Do the following:
- Step 1 - From Shopify, click Apps.
- Step 2 - Click Visit Shopify App Store.
- Step 3 - Search and select Reviews Importify | Q & A.
- Step 4 - Click Add app.
- Step 5 - Click Install app.
Pick a plan that fits your needs.
- Step 1 - From Shopify, click Apps.
- Step 2 - Click Reviews Importify | Q & A from the list.
- Step 3 - Go to Plans section from the left sidebar.
- Step 4 - Pick a plan that fits your needs and click choose plan.
- Step 5 - Click Yes
How to Enable Reviews Importify App in your Shopify Theme
Add Reviews Importify to your Shopify store in just a few clicks so you can start collecting reviews immediately.
Enable App in online store 2.0 theme
From the Reviews Importify Start Guide (Apps -> Reviews Importify | Q & A ), do the following:
- Step 1 - Click on Enable Reviews Importify Script.
- Step 2 - Click on Add Now (The editor will open in a new tab).
- Step 3 - From the editor, Enable the app embeds and click on save.
- Step 4 - Come back to app dashboard and click on check to verify the installation.
It’s important you open the editor from this link so we can enable Reviews Importify on your store. You can verify that Reviews Importify is enabled by going to Theme Settings > App embeds, and checking that Reviews Importify Reviews is toggled on.
Enable App in theme Manually
- Step 1 - Go to your Shopify Themes menu.
- Step 2 - Click Actions > Edit Code.
- Step 3 - Locate the file that you use for your layout. This is usually called theme.liquid or theme-template.liquid.
-
Step 4 - Copy and paste the following
code right above the </head> section:
{% assign cdn_url = "https://widgets.reviewsimportify.com" %} - Step 5 - Save your changes.
How to Install Reviews Widget on Product Pages
Add Reviews Widget to your Shopify store in just a few clicks so you can start collecting reviews immediately.
Add Reviews Widget in online store 2.0 theme
From the Reviews Importify Dashboard (Apps -> Reviews Importify | Q & A ), do the following:
- Step 1 - Click on Widgets.
- Step 2 - look for the tab with title "Product reviews widget" and click on "Add Now" (The editor will open in a new tab).
- Step 3 - From the editor, Select and place the widget where you want it to appear on your store.
- Step 4 - Click on save.
Add Reviews Widget code Manually
We’ll guide you through the following steps to make sure everything runs smoothly:
- Step 1 - Go to your Shopify Themes menu.
- Step 2 - Click Actions > Edit Code.
- Step 3 - Locate the file that manages your basic product page content and settings. This is usually called product.liquid or main-product.liquid.
-
Step 4 - Paste the following code into the file.
- If you're using Shopify Online Store 2.0, paste the code above the { % schema % } section
- If you're using an older theme, paste the code under the last line of code
- Step 5 - Save your changes.
How to Install the Star Rating Widget on Product Pages
Install in online store 2.0 theme
Add Rating Widget to your Shopify store in just a few clicks.
From the Reviews Importify Dashboard (Apps -> Reviews Importify | Q & A ), do the following:
- Step 1 - Click on Widgets.
- Step 2 - look for the tab with title "Reviews rating widget" OR "Reviews rating widget with dropdown" and click on "Add Now" (The editor will open in a new tab).
- Step 3 - From the editor, Select and place the widget where you want it to appear on your store.
- Step 4 - Click on save.
Install code Manually
- Step 1 - Go to your Shopify Themes menu.
- Step 2 - Click Actions > Edit Code.
- Step 3 - Locate the file that you use for your product pages. This is usually called product-template.liquid or main-product.liquid.
-
Step 4 - Paste the following code into the file under the {{ product.title }} element
{% assign reviews = block.settings.product.metafields.reviewsimportify.reviews.value %} {% assign questions = block.settings.product.metafields.reviewsimportify.questions.value %} - Step 5 - Save your changes.
How to Install the Star Rating Widget on Category Pages
Add Star Rating Widget to your Shopify store category pages in just a few clicks.
We’ll guide you through the following steps to make sure everything runs smoothly:
- Step 1 - Go to your Shopify Themes menu.
- Step 2 - Click Actions > Edit Code.
- Step 3 - Locate the file that contains the code for the category pages on your site.
-
Step 4 - Paste the following code between the product title class and the price class (or wherever you'd like the star rating to appear):
{% assign reviews = product.metafields.reviewsimportify.reviews.value %} {% if reviews.total > 0 %} {% endif %} - Step 5 - Save your changes.
Contact and Support
For any questions or support, please contact us at <reviewsimportifyhelper@gmail[dot]com> or visit our website at https://www.reviewsimportify.com/
Thank you for using Reviews Importify | Q & A App.